Chromebooks are perfect laptops for those whose jobs are mostly done on the Cloud or using web-based apps.
So, are there any great screen recorders for your Chromebook when you need to screen record on Chromebook with webcam and audio for office work or gaming, etc?
Definitely yes! We tested out dozens of screen recorders for Chromebooks and selected the 7 best screen recorders for Chromebooks for you to make easy screencasts or tutorial videos in 2021. Without further ado, let’s dive in.
Contents:
Chromebooks are best-known for their ultra-lightweight Chrome OS system based on the Chrome browser. So, all of the screen recorders we handpicked for your Chromebook must meet the following basic requirements:
1. Chromebook's Built-in Screen Recorder
For all Chromebook users, using a pre-installed Chromebook screen recorder is probably the best option to screen record on Chromebook.
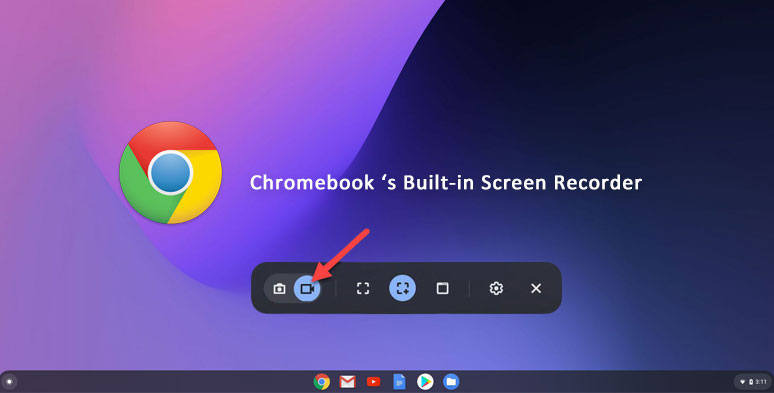
Use Chromebook’s built-in screen recorder
Benefits of Using Chromebook’s Built-in Screen Recorder:
The Downside:
How to Use Chromebook’s Screen Recorder?
To do so, firstly you need to update Chrome OS to its latest version. Then do as follows:
Click on the clock icon on Chromebook’s shelf
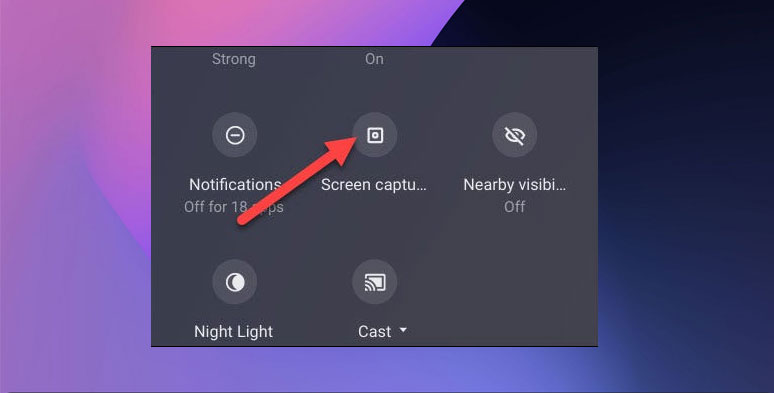
Select screen recorder on Chromebook
As Screen Capture controls appear, tap the screen recording icon. Then Chromebook screen recorder gives you three options to record your screen:
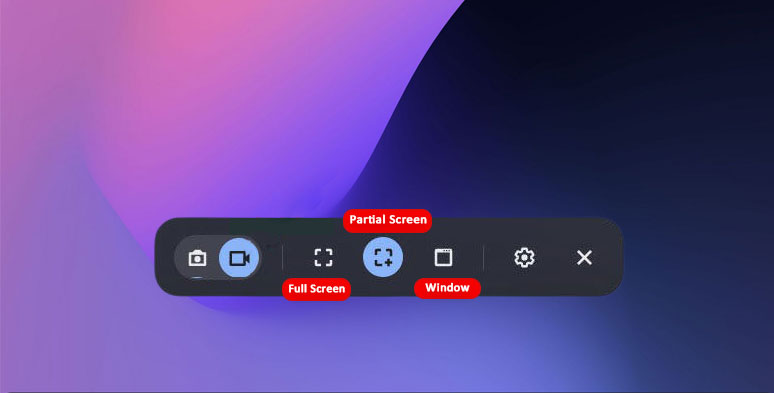
Select the recording area using Chromebook screen recorder
You may also click on the cog icon to select “Record Microphone” for audio recording. However, during our actual test, no system/internal audio can be recorded on Chromebook, just like how you record screen with QuickTime on Mac.
A folder will show you the recorded video in WebM format. Or you can share it on Google Drive.
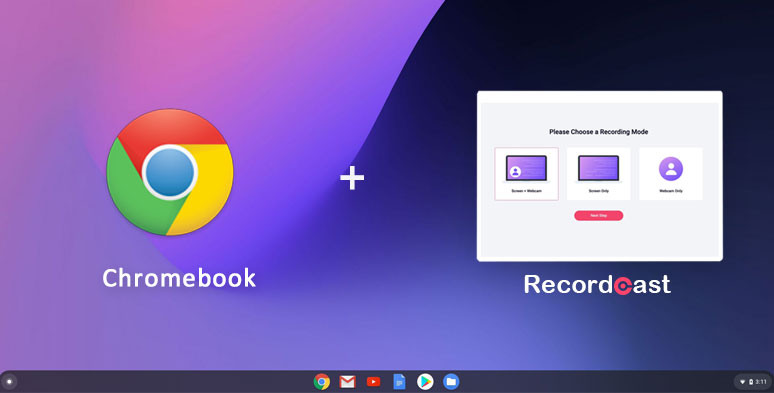
2. RecordCast
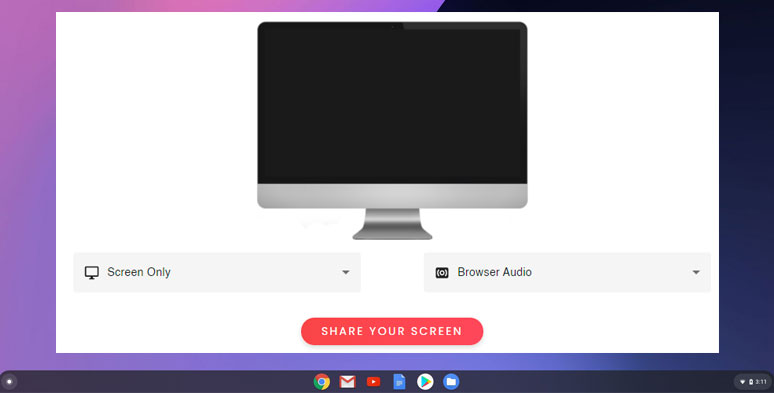
RecordCast is an in-browser screen recorder and video editor. You can easily use it to record your screen and webcam with both system and mic audio included on your Chromebook.
Use RecordCast to Screen Record Chromebook without an extension
Benefits of Using RecordCast to Screen Record Chromebook:
The Downside:
How to Use RecordCast to Screen Record on Chromebook:

Customize recording mode to record on Chromebook
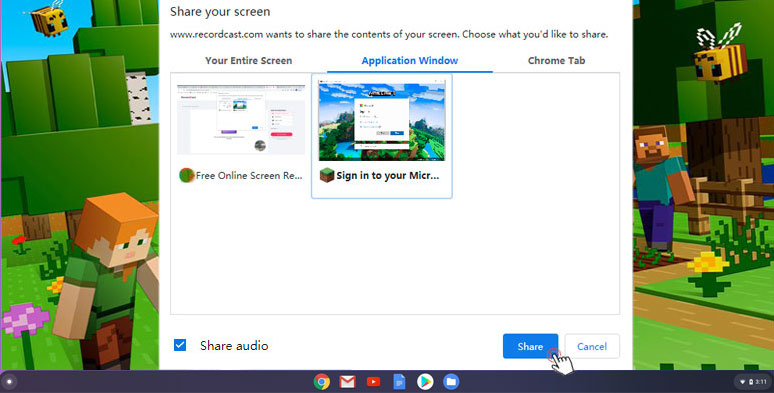
Select Minecraft application window for screen recording
Don’t forget to check “Share audio” and then click on “Share” to start recording. Learn more about how to record Minecraft without lagging.
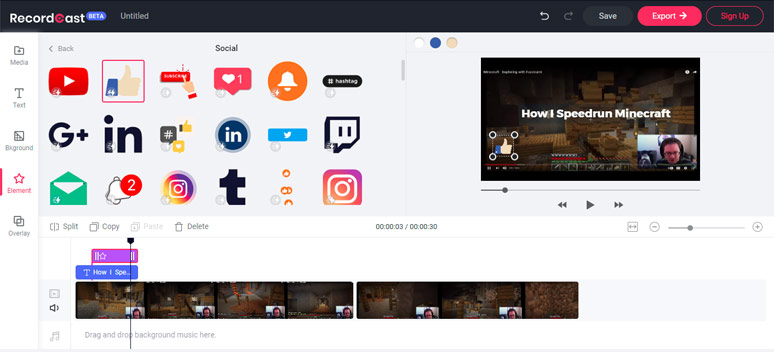
Edit screen recordings in RecordCast’s built-in video editor
3. FlexClip
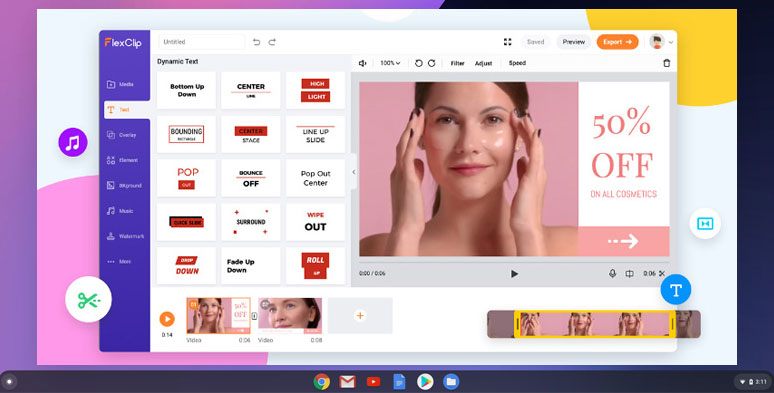
With a feature-packed online video editor, FlexClip offers you a user-friendly screen recorder that works flawlessly on Chromebooks. You can easily screen record on Chromebook with audio and then use FlexClip’s dozens of handy online video editing tools and its vast royalty-free media library to make a thumb-stopping video.
Use FlexClip to record your screen on a Chromebook
To some extent, it’s more of a powerful online video editor with a small and nifty screen recorder for Chromebook and Chrome browser users. Find out how to record any Chrome tab with audio.
Benefits of Using FlexClip to Screen Record Chromebook:
The Downside:
How to Use FlexClip to Screen Record on Chromebook:
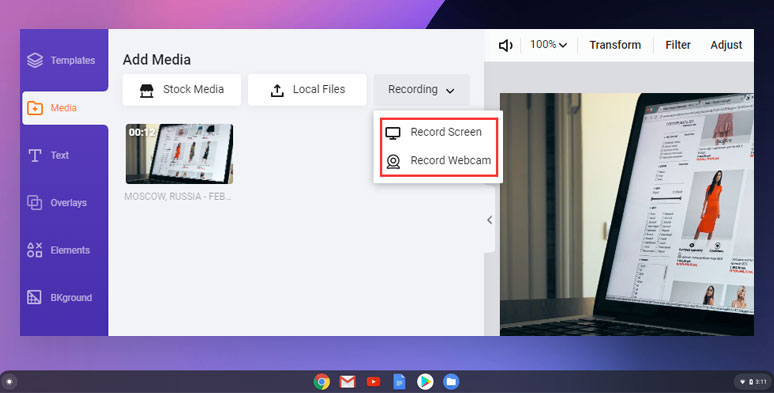
Select to record mode on Chromebooks using FlexClip
Do check “Share Audio” to make sure system audio is recorded.
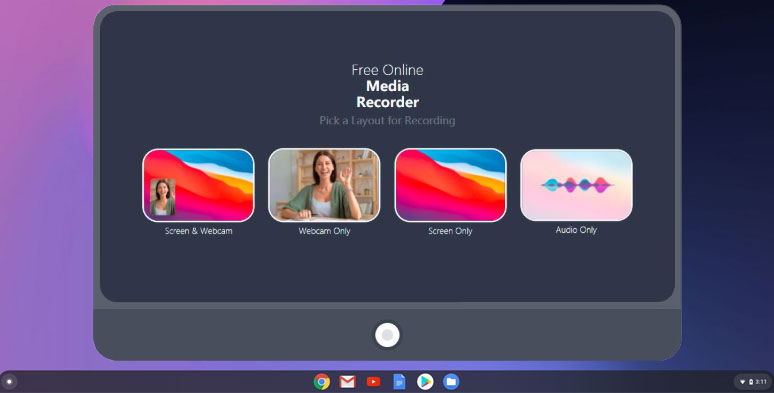
4. Screenapp.io
Screenapp.io is a minimal in-browser screen recorder that allows Chromebook users to record full screen or screen and webcam with simple clicks. If you only want to record your screen with a simple screencast, like reporting a bug to a web developer, it can be a feasible choice.
Use Screenapp to record on Chromebook with audio on Chromebooks
Benefits of Using Screennapp.io to Screen Record Chromebook:
The Downside:
How to Use Screennapp.io to Screen Record on Chromebook:
5. Panopto
As a prestigious screen recording and live streaming platform for universities and corporations, Panopto offers you a seamless user experience to record your screen on Chromebook and easy sharing.
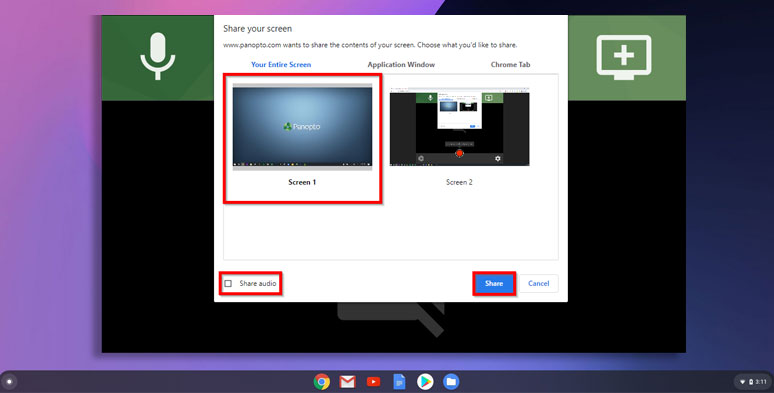
Use Panopto to record on Chromebook without an extension
If you intend to make a PowerPoint presentation video as a teacher or business professionals by screen recording on your Chromebook, Panopto is the one to go with.
Benefits of Using Panopto to Screen Record Chromebook:
The Downside:
How to Use Panopto to Screen Record on Chromebook:
Go to “Setting”built-in screen recorder to the Control Center.
You may also upload your screen recording to Panopto for further editing or share the video to YouTube or Google Classroom directly.
6. Loom
As one of the most versatile free screen recorders for Chromebooks, Mac, and Windows, Loom deserves to be your go-to choice for any Chromebook user for its dozens of useful features.
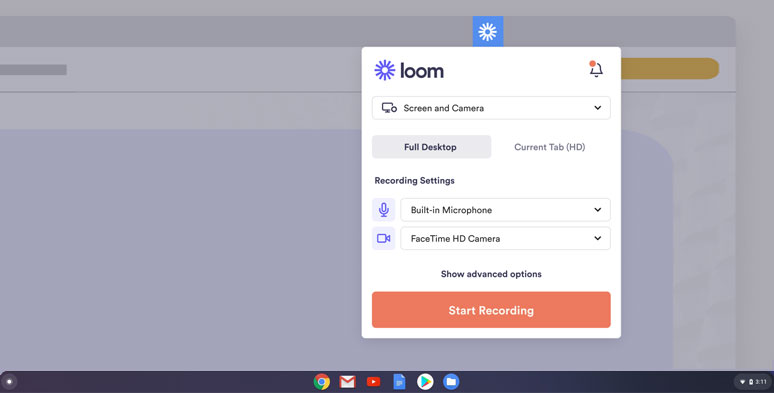
Use Loom to screen record on Chromebook
Not only can you screen record the screen of your Chromebook with audio narration, but also customize video preferences, add emojis, and trim screen recording, etc. You may also easily share Chromebook recordings with copy links, embed code for your blog, linked GIF, etc. So, it can be said that Loom is an all-rounder from screen recording on Chromebook and sharing.
Benefits of Using Loom to Screen Record Chromebook:
The Downside:
How to Use Loom to Screen Record on Chromebook:
Please bear in mind, you have only 5 mins for screen recording as a free user.
7. Veed.io
Founded by two developers in London, Veed.io is one of the newest contenders for the online video editor in the industry. Its online video recorder for Chromebook offers you an effortless way to screen record on Chromebook with a webcam.
Use Veed.io to screen record on a Chromebook
Like most of the mainstream online video editors, Veed also has a built-in video editor to help you edit the screen recordings in no time and download it in MP4.
Benefits of Using Veed.io to Screen Record Chromebook:
The Downside:
How to Use Veed to Screen Record on Chromebook:
Final Thoughts
So, that's all the 7 screen recorders we recommended for screen recording on Chromebook. Probably, none is completely flawless in terms of both screen recording and video editing.
In this respect, combining the two like screen recording your Chromebook by RecordCast and then use tons of editing tools and license-free stock assets in FlexClip could yield the best result. Do pick a couple of Chromebook screen recorders mentioned above and experiment with them yourself and share your thoughts on them.

Hot & Trending
-

How to Record Yourself and Your Screen at the Same Time on PC/Mac
-

How to Record Any Chrome Tab with Audio in Clicks
-
8 Best Free Screen Recorders with No Watermark
-

Top 19 Tips and Tricks to Record Presentations as a Video
-
How to Record Facebook Video Calls with both Video and Audio on Desktop, iPhone, Android
-
How to Record Google Meet for Free Gmail Users (PC & Mobile)
-
Best Way to Record Gameplay on PC 2021
-

Best Ways to Record an Interview with High-quality Audio and Video on Mac