With more teaching switching to online, teachers might be making more Google Slides presentations for students. And sometimes, you need to arouse students’ attention to particular passages or words by reading aloud in the Google Slides.
That’s why it’s essential to add your audio recording to the slides. The tricky thing is that Google Slides doesn’t have a built-in audio recorder. So, in this article, we will offer you 3 simple and flexible ways to do a voiceover on Google Slides.
Contents:
How to Do a Voiceover on Google Slides in Two Basic Ways
Since directly adding a voiceover to Google Slide is not an option, currently, you have two alternatives to recording a voiceover to Google Slides.
Option 1: Record Audio and Insert It to Google Slides
Well, there are tons of apps and free online voice recorders to record your voice. If you are an iPhone user, you can simply record a voiceover using Voice Memos on your iPhone, which is super easy and free. Or you can use Audacity or any free Audio Voice Recorder in the Chrome store to record an MP3 audio file.
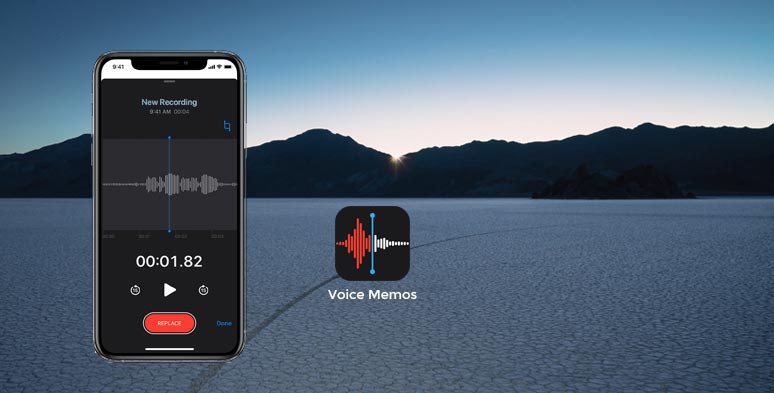
Use Voice Memos on iPhone or audio recorders in Chrome store
This step is so crucial since you can only insert voiceover to Google Slides from My Drive. Create a folder in Google Drive and upload all audio files to it.
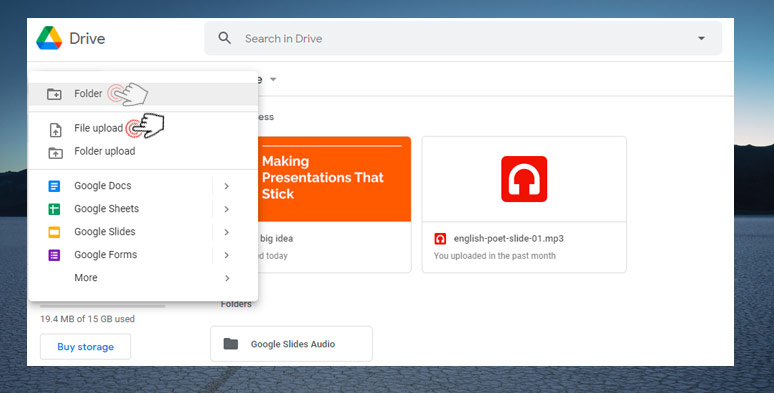
Create a folder in Google Drive and upload recorded audio files
Go back to Google Slides, and fresh your page, which helps you get the updated source of audio files. Next, click on “Insert” > Audio > select the audio file to match each slide.
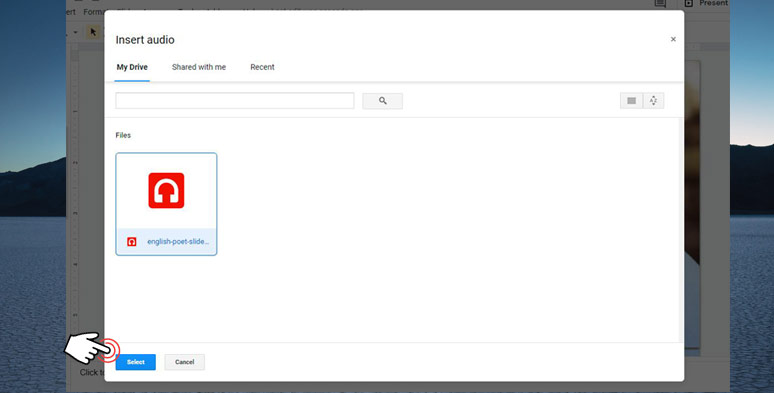
Insert an audio file to Google Slides
As you insert audio, an audio icon will appear. You can play the audio to check if it is right. Meanwhile, click on the audio icon, Format Options sidebar will reveal itself to the right. You can decide whether the voiceover starts on click or automatically and adjust the size, rotation, position, or recolor the audio icon, etc. Just feel free to experiment.
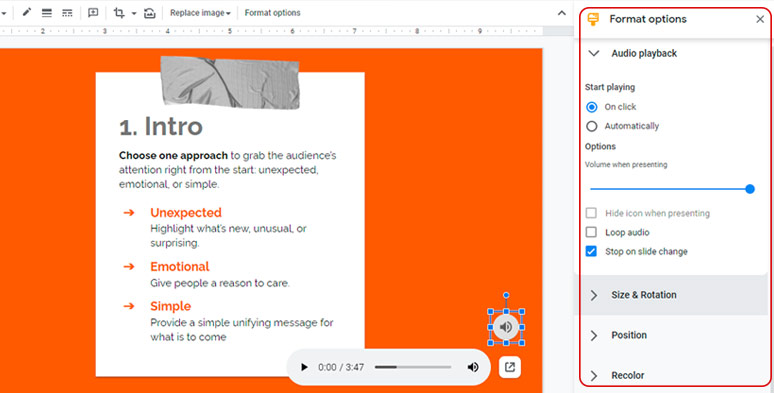
Customize the audio in Format Options of Google Slides
Option 2: Use Add-ons to Add Voiceover to Google Slides
So far, this is the only option to directly record a voiceover to Google Slides. All you need to do is download an add-on called Pear Deck. Check how to do a voiceover on PowerPoint in multiple ways.
Click on “Add-ons” > “Get Add-ons” > search Pear Deck and install it
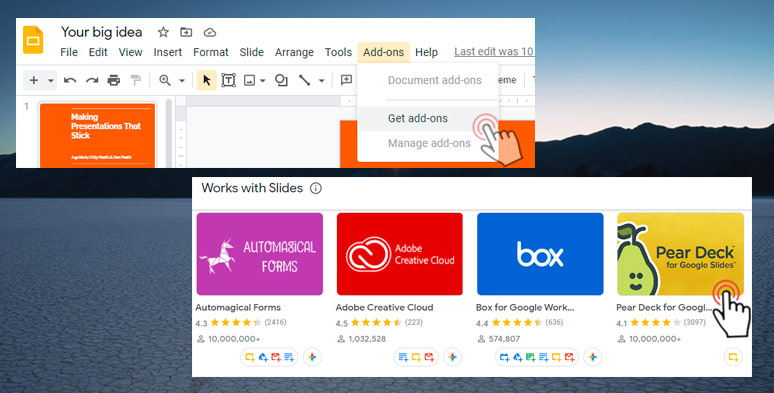
Install Pearl Deck Add-ons
Tap “Add-ons” > “Pear Deck for Google Slides Add-on” > “Open Pear Deck Add-on”
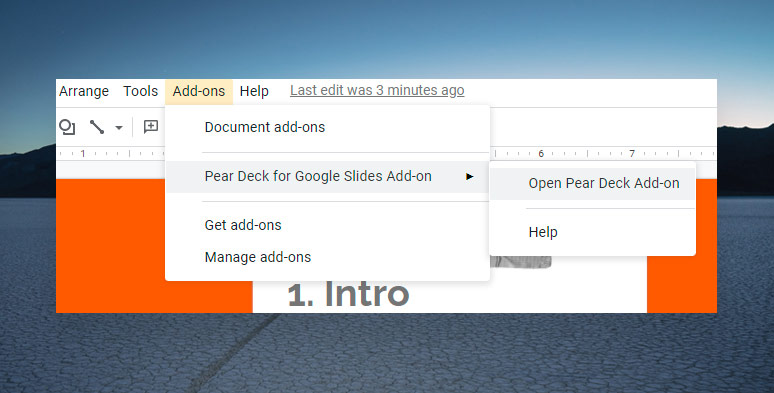
Open Pearl Deck Add-ons
Now, the Pear Deck will be activated on the right sidebar. Scroll down to find “Add Audio to Slide” and click on it for recording. After you’ve recorded a voiceover, press “Add Audio to Slide”. Then the recorded audio will appear at the top right corner of the slide.
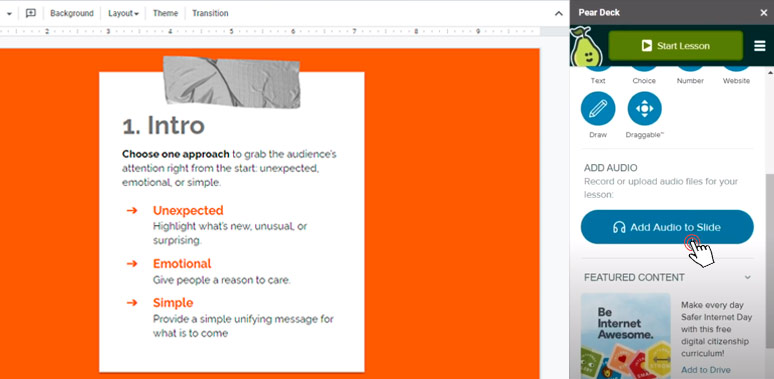
Add audio to Google Slides with Pearl Deck
Do a Voiceover on Google Slides with Screen Recording by RecordCast
If your students are small kids with a short attention span, then screen recording your Google Slides with both your audio narration could be more eye-catching and productive to teaching.
To this end, you need a free and online screen recorder and video editor. A potential candidate is RecordCast. It’s 100% free and easy-to-use for novices and no software download is required.
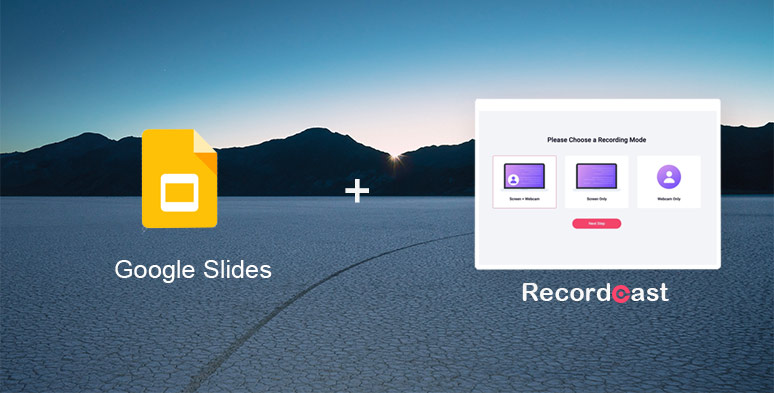
Do a voiceover on Google Slides by RecordCast
Make sure you turn off all the possible pop-up notifications that will interfere with your recording.
Open RecordCast’s online screen recorder and choose “Screen” and “Microphone” for recording. Then “Start Recording” button.
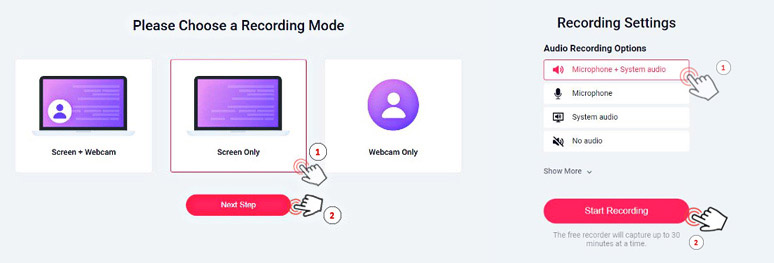
Set up the video and audio recording mode for Google Slides
If you prefer, you can opt for “Screen+ Webcam” to include your face in the webcam to create a picture in picture effect while reading your narration. Just like what you see in a video tutorial on YouTube.
After you tap the “Start Recording” button, a pop-up will appear. Click on “Application Window” and select Google Slides. Then check the “Share Audio” box and hit the “Share” button. The recording will automatically begin.

Select the Chrome tab of Google Slides for Recording
Now, you can go back to Google Slides and begin recording your voiceover to each slide.
To stop recording, press the “Stop Sharing” button. Then head back to RecordCast. Now, you can playback your previous recording. Next, hit the “Download and Edit” button, your recording will be imported to RecordCast’s built-in video editor.
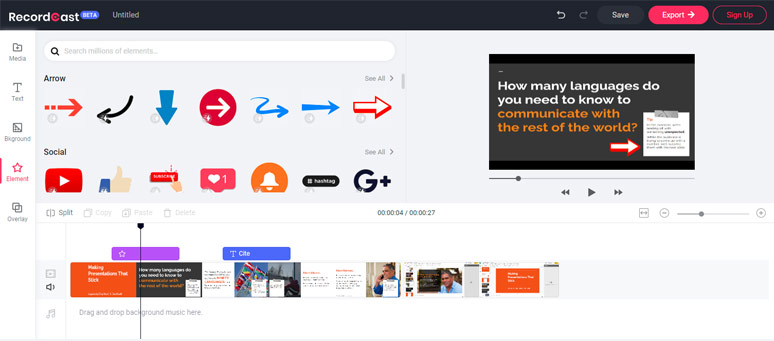
Edit the recording in RecordCast’s video editor
You can trim your recording, add texts and moving elements to make your teaching more engaging to students. You can even import more audio, images, and video clips to original recordings when needed. Quite flexible.
Finally, after you’ve done all the editing, click on “export” to export the Google Slides video with voiceover in MP4 (1080P). You may upload it to your google drive, ready for sharing.
Final Thoughts
So, which options work best for you? If you prefer a free and easy way, it’s advisable to use your iPhone’s built-in video memo app to record a voiceover and upload it to Google Drive and insert it to Google Slides.
If your students are so young with a short attention span, we suggest you use RecordCast to screen record your Google Slides while recording a voiceover for it. If you have more great advice, don’t forget to tell us on your Facebook.

Hot & Trending
-

How to Record Yourself and Your Screen at the Same Time on PC/Mac
-
How to Record Any Chrome Tab with Audio in Clicks
-
8 Best Free Screen Recorders with No Watermark
-

Top 19 Tips and Tricks to Record Presentations as a Video
-
How to Record Facebook Video Calls with both Video and Audio on Desktop, iPhone, Android
-
How to Record Google Meet for Free Gmail Users (PC & Mobile)
-

Best Way to Record Gameplay on PC 2021
-

Best Ways to Record an Interview with High-quality Audio and Video on Mac